
ET MERDE!
... pardon my french.

If there’s one thing I’ve always believed, it’s that you can’t teach an old dog new tricks. After years of foraging through the noise generated by social media, I only recently stumbled upon a YouTube channel by French pro-photographer Nath-Sakura. I’m surprised that it wasn’t recommended to me by the YouTube algorithm until now, but then the algorithm doesn’t know that I speak French.
Anyway, what caught my attention was a YouTube video titled “Should we kill photo influencers?”. Yes, she shamelessly click-baited me.
Upon reading this my mind I immediately screamed, “Yes, but let’s include all other influencers too!”. Needless to say, t was an absolutely brilliant and well-argued video that exposed the problem of pushing content through social media. I became an instant fan. After watching several of her other videos and subscribing, I came across a short that boldly claimed that the best way to expose was to OVERexpose by +1.3IL (when shooting RAW) to maximize the performance of your camera’s sensor. WHOOOT? I know I never gave it much thought before, but as far as common lore is concerned, you expose for darkness and avoid clipping from light at all costs. This was a bold statement, so I had no choice but to investigate further.
First, I’d like to briefly explain my current exposure techniques…
UNDERexpose: Beggars can’t be choosers
I admit that relying on UNDERexposing images and then correcting them in post-processing has been a convenient strategy. Especially hen most people on social media promote UNDERexposing as the only right approach. As an amateur photographer, I never gave it much thought, since most of my photography is done handheld in low-light conditions.
Like many others, to capture proper shots in these situations I rely on IBIS, ISO, fast lenses and a slight UNDERexposure to squeeze out the minimum but fastest possible shutter speed. This allows me to shoot in light conditions that would have been inconceivable decades ago. However, shaky or blurry pictures caused by motion are a deal breaker if not made on purpose. A 1/125th of a second shot is more preferable than a 1/30th, and using the native ISO setting is better than going 1600. After many years, finding the perfect compromise between getting the best possible shot while accepting the sensor’s peculiarities and limitations have become second nature to me.


The convenience of this strategy and the repeated affirmation from others that UNDER was good and OVER was bad made me never question this approach. I never considered that this wasn’t the most effective way to utilize my camera’s sensor. The results were certainly acceptable for an A3+ print, and certainly they were overkill for social media. Maximizing my gear’s capabilities made me feel safe, or so I thought. To be honest I never saw the need to play with the option key and tone sliders on LrC. The obsession not to have 255 whites and 0 blacks by using the option key and slider in an image when I intentionally exposed it that way. Thank good, as a toxic male, I listen rarely and omitted adding this to my workflow.
HDR: The mother of all lighting solutions, or not?
I must admit that I try to avoid using HDR and only resort to it when absolutely necessary. To achieve acceptable results that justify the significant increase in file size (especially on 100-megapixel sensors) and the need for a sturdy tripod. A VERY sturdy tripod. As a walk-around and shoot photographer, I admit that a tripod is my least favorite “only-sometimes-useful” accessory to carry.
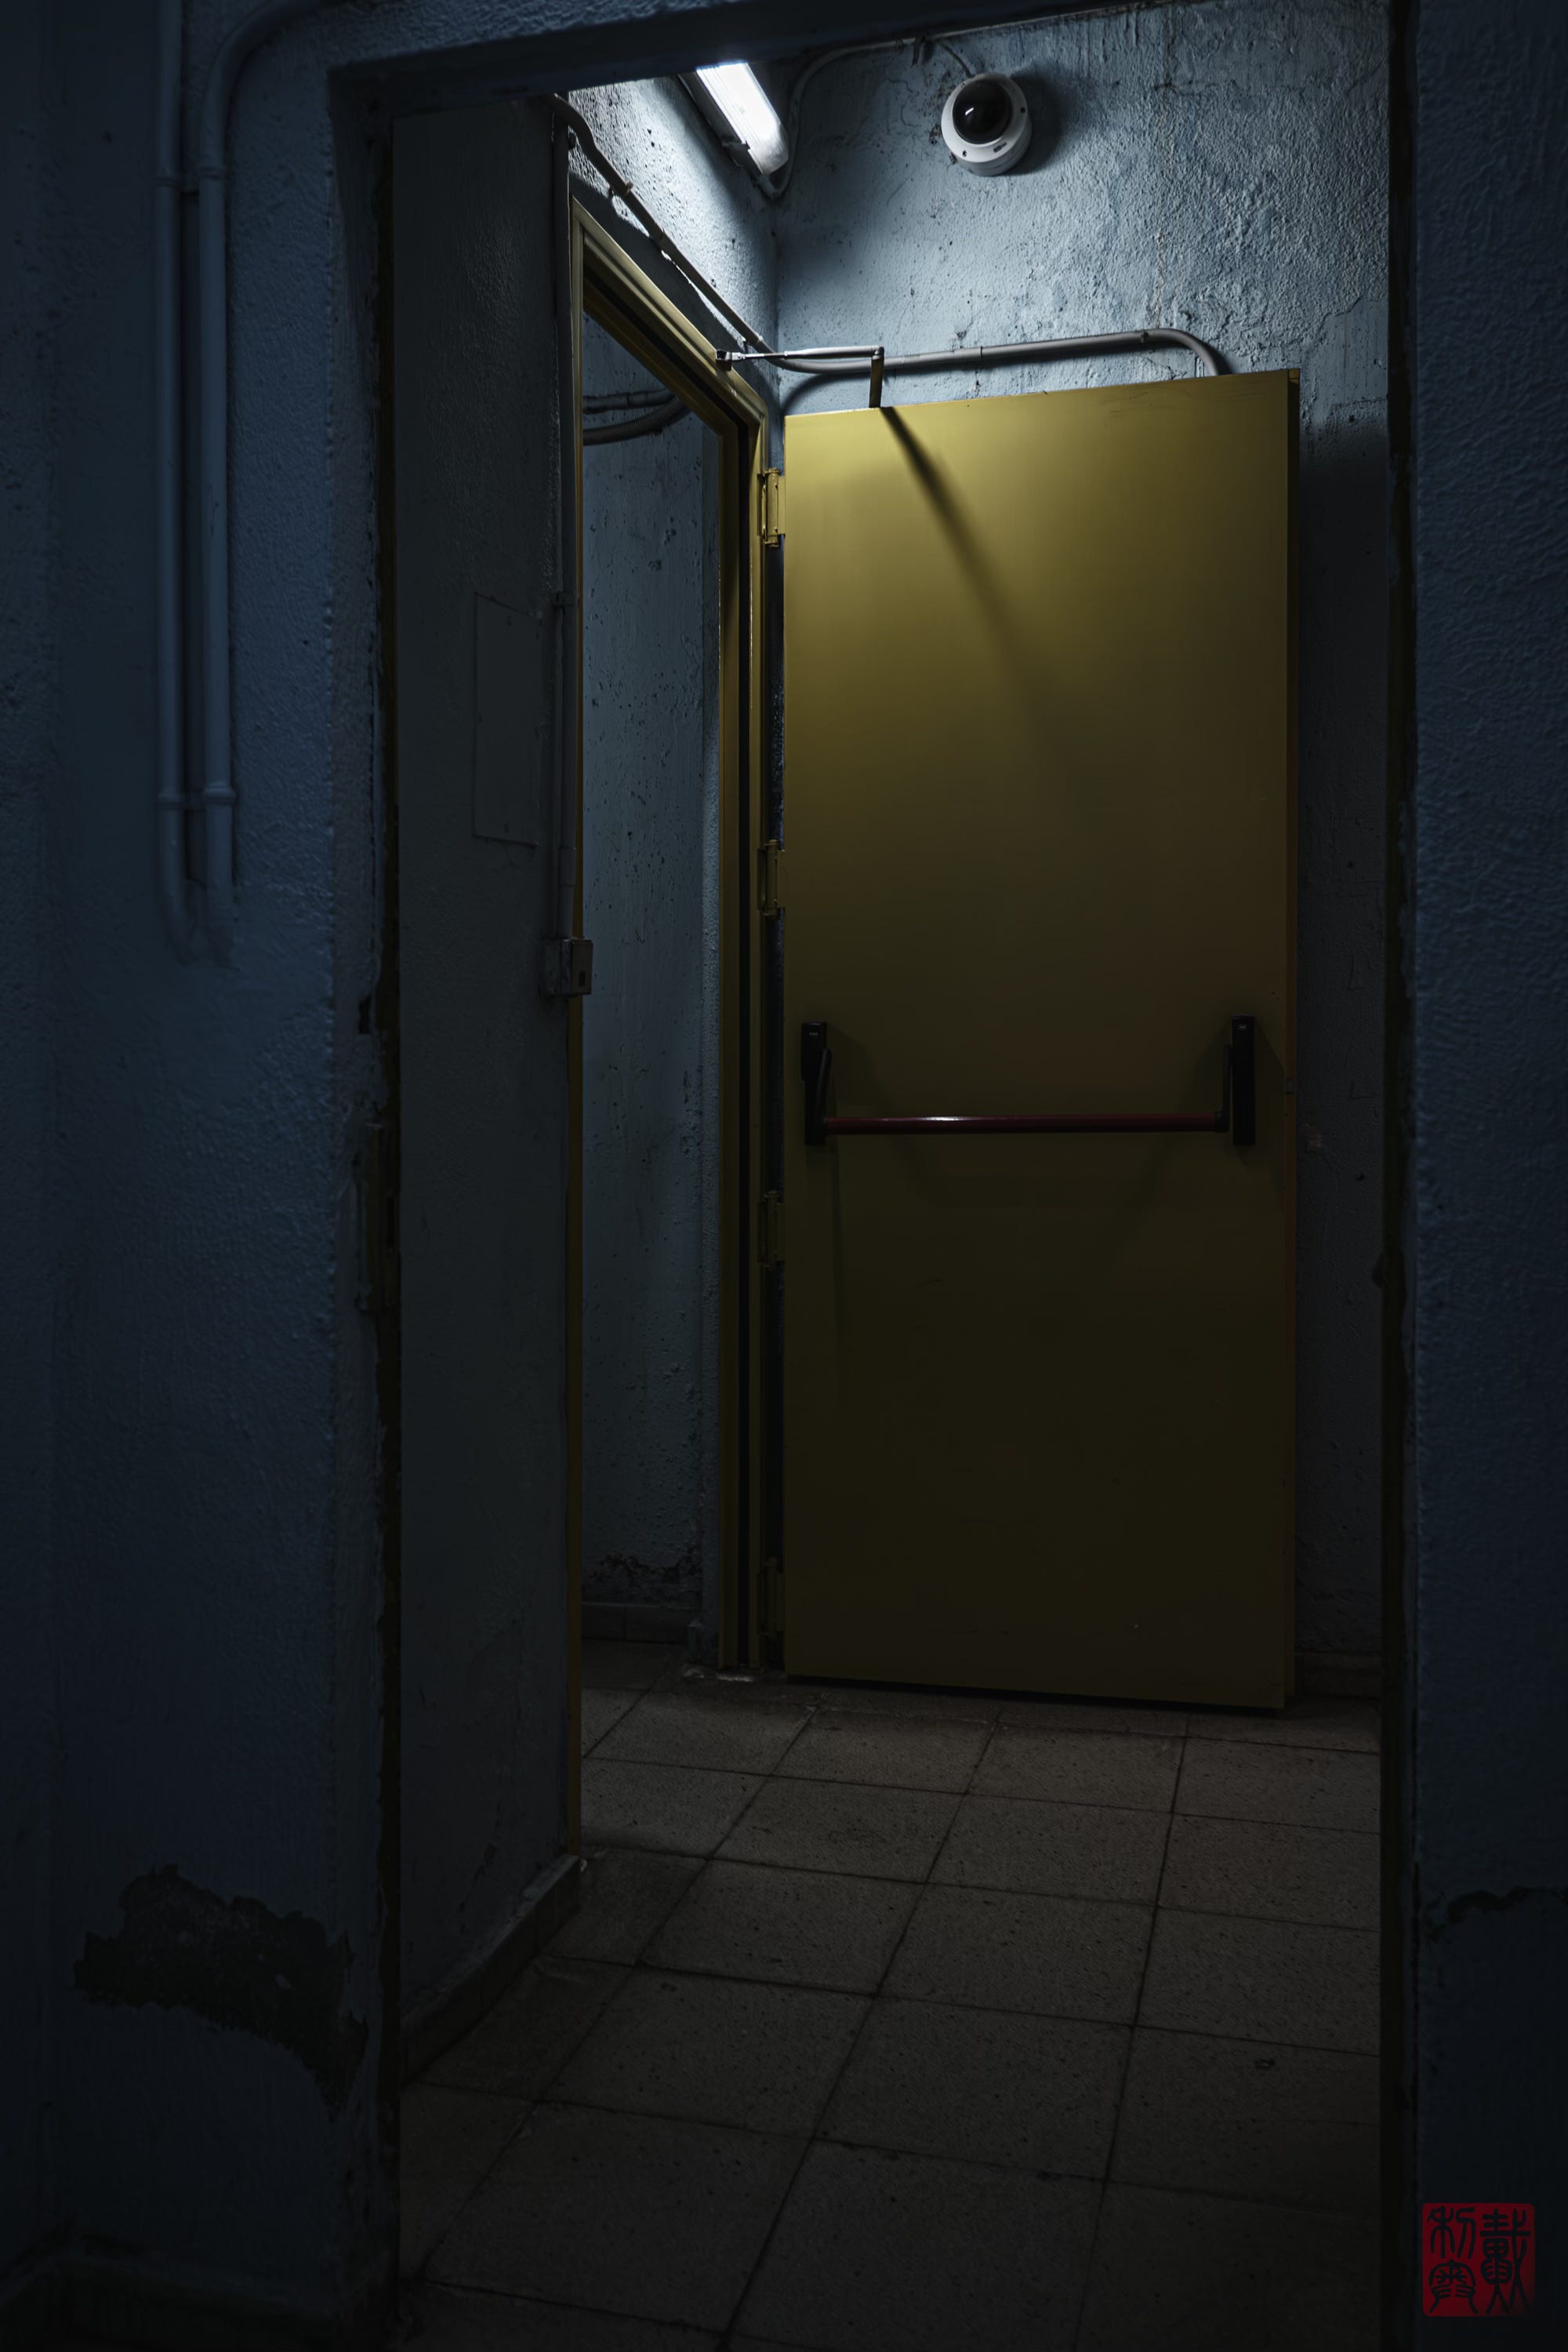
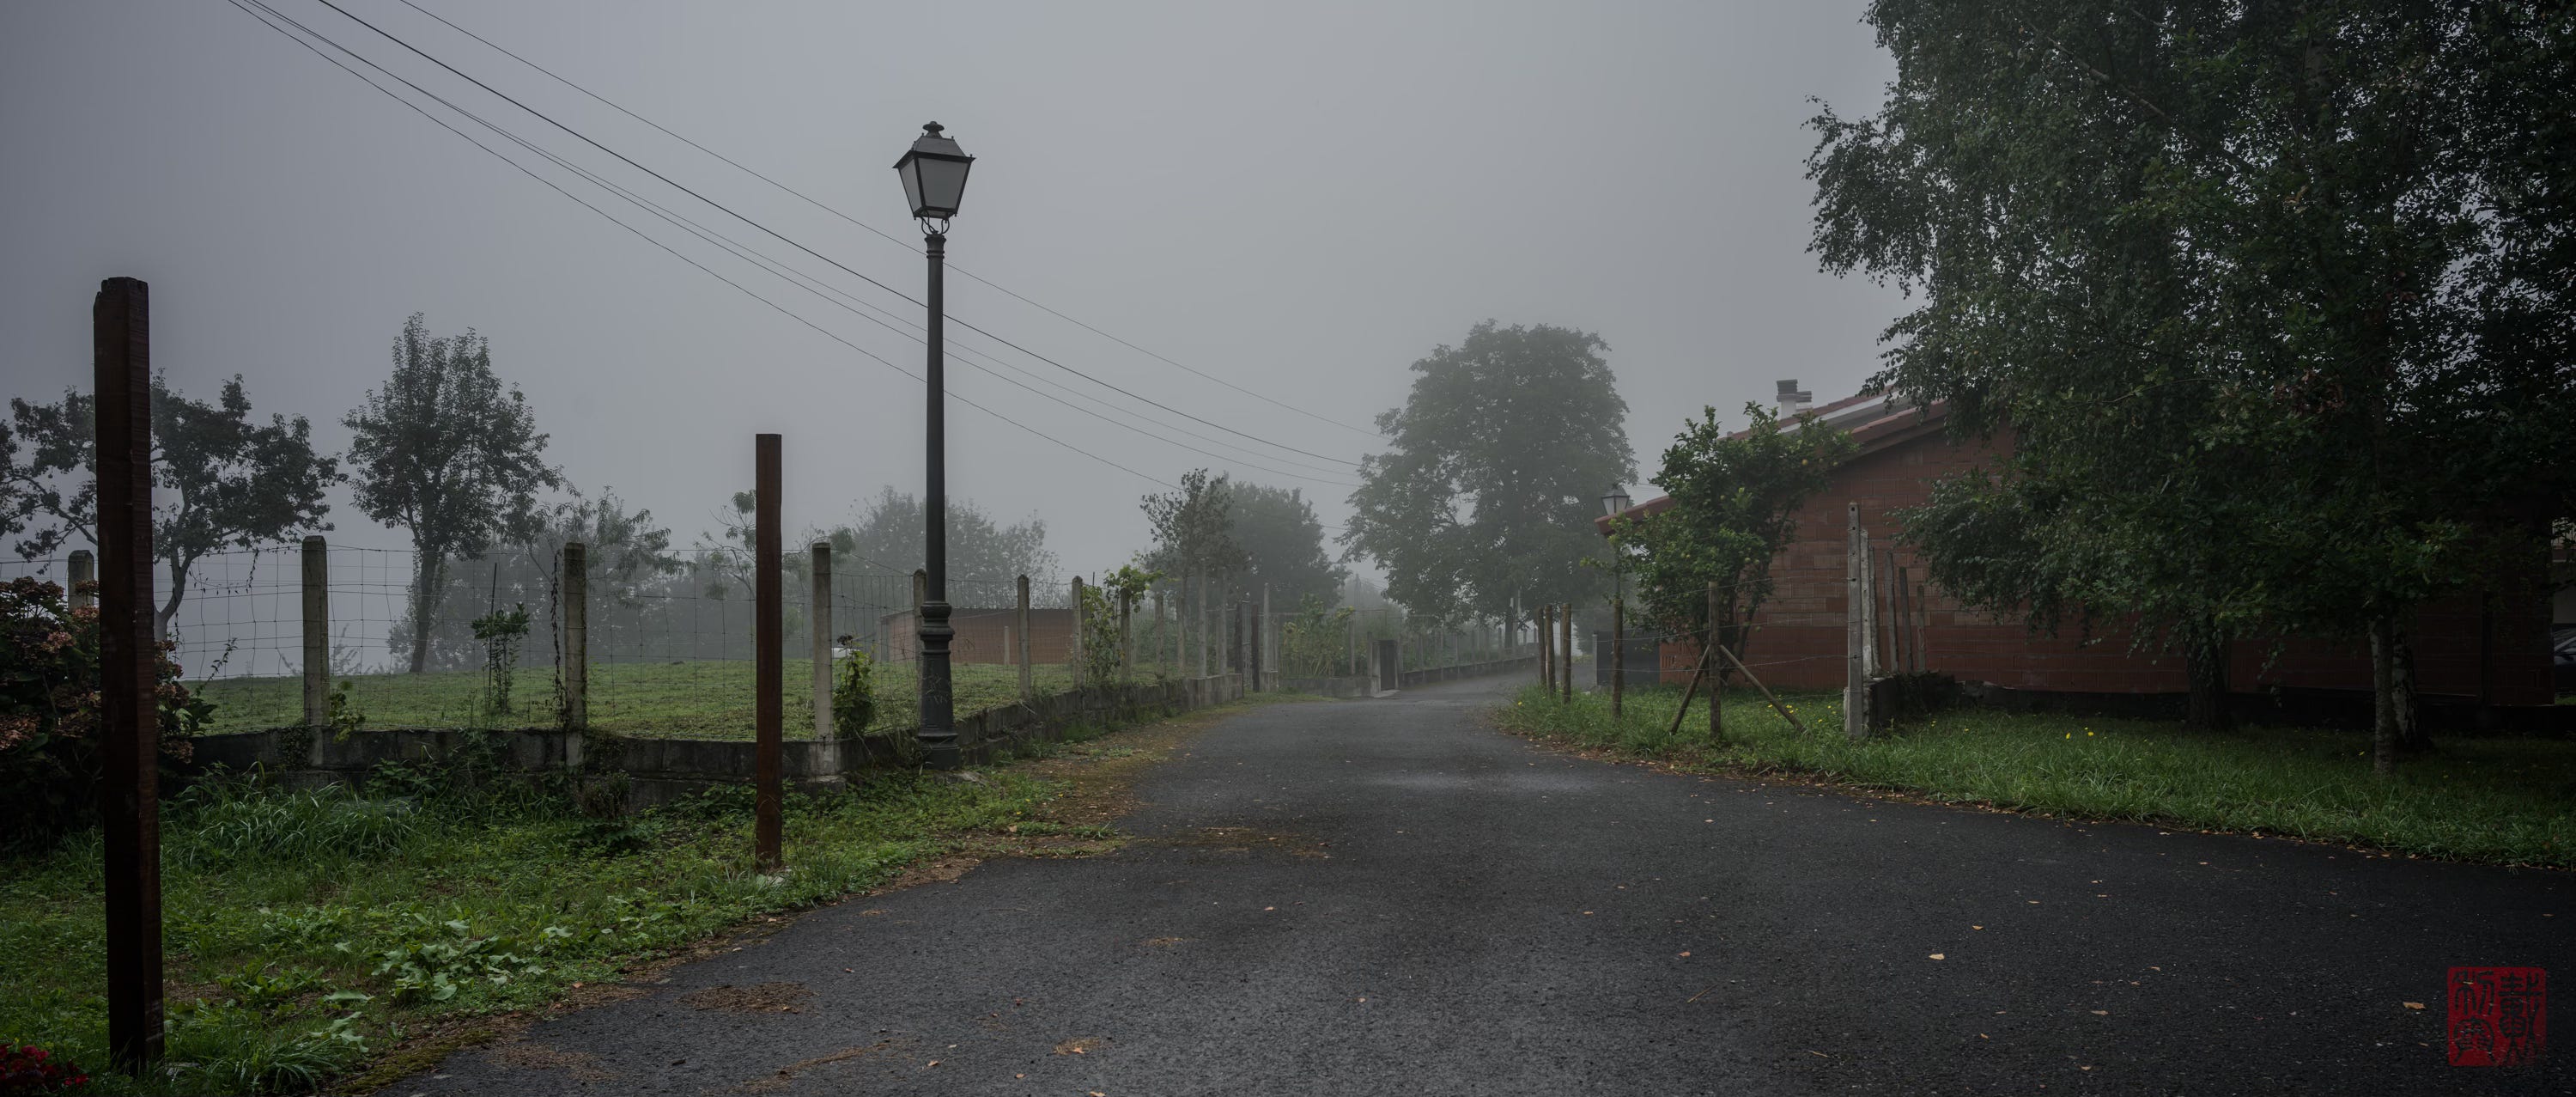
Below is an example of a bracketed shot I took at -2.0, 0.0, and +2.0 of this interior. I had three bracketed shots, but I discarded the +2.0 shot and only used two for this HDR merge.


I recently discovered an HDR setting on the X-M5 that generates HDR-RAW files. Apparently those are generated as one RAW file. Once imported into LrC or Capture One they are three times the weight of standard files, so they appear to be genuine. Previously, HDR-RAW files were JPEG images created in-camera from bracketed shots. Have not done much with it but I’ll investigate this further once I have the time…

OVERexposing: Ragnarok or Walhalla?
The moment of truth. After watching several clips by Nath-Sakura, I was puzzled by the claim to “OVER”expose your shots by +1.3 IL to get them most out of your camera’s sensor. Really? I never really researched this or given it much thought since most sources suggest UNDERexposing and correcting in post-processing.
Hard to believe, but I needed to test these claims. I chose a subject with a lot of white, black, and various textures. I did not bother to measure with a flash meter or adjust for the light part of the scene, but I made the effort to use a tripod. I chose not to test this on standard Bayer sensor, so I went with the heavenly-nightmarish X-Trans Fujifilm sensor. RAW files that Lightroom is notoriously bad at demosaicing (Capture One does a better job with Fuji files). The results would be evident and clear very fast.
I took my bracketed shots, imported them into LrC, adjusted the two over and under exposed by 1.3 IL to match the properly exposed shot, and… BOOM! I was speechless.
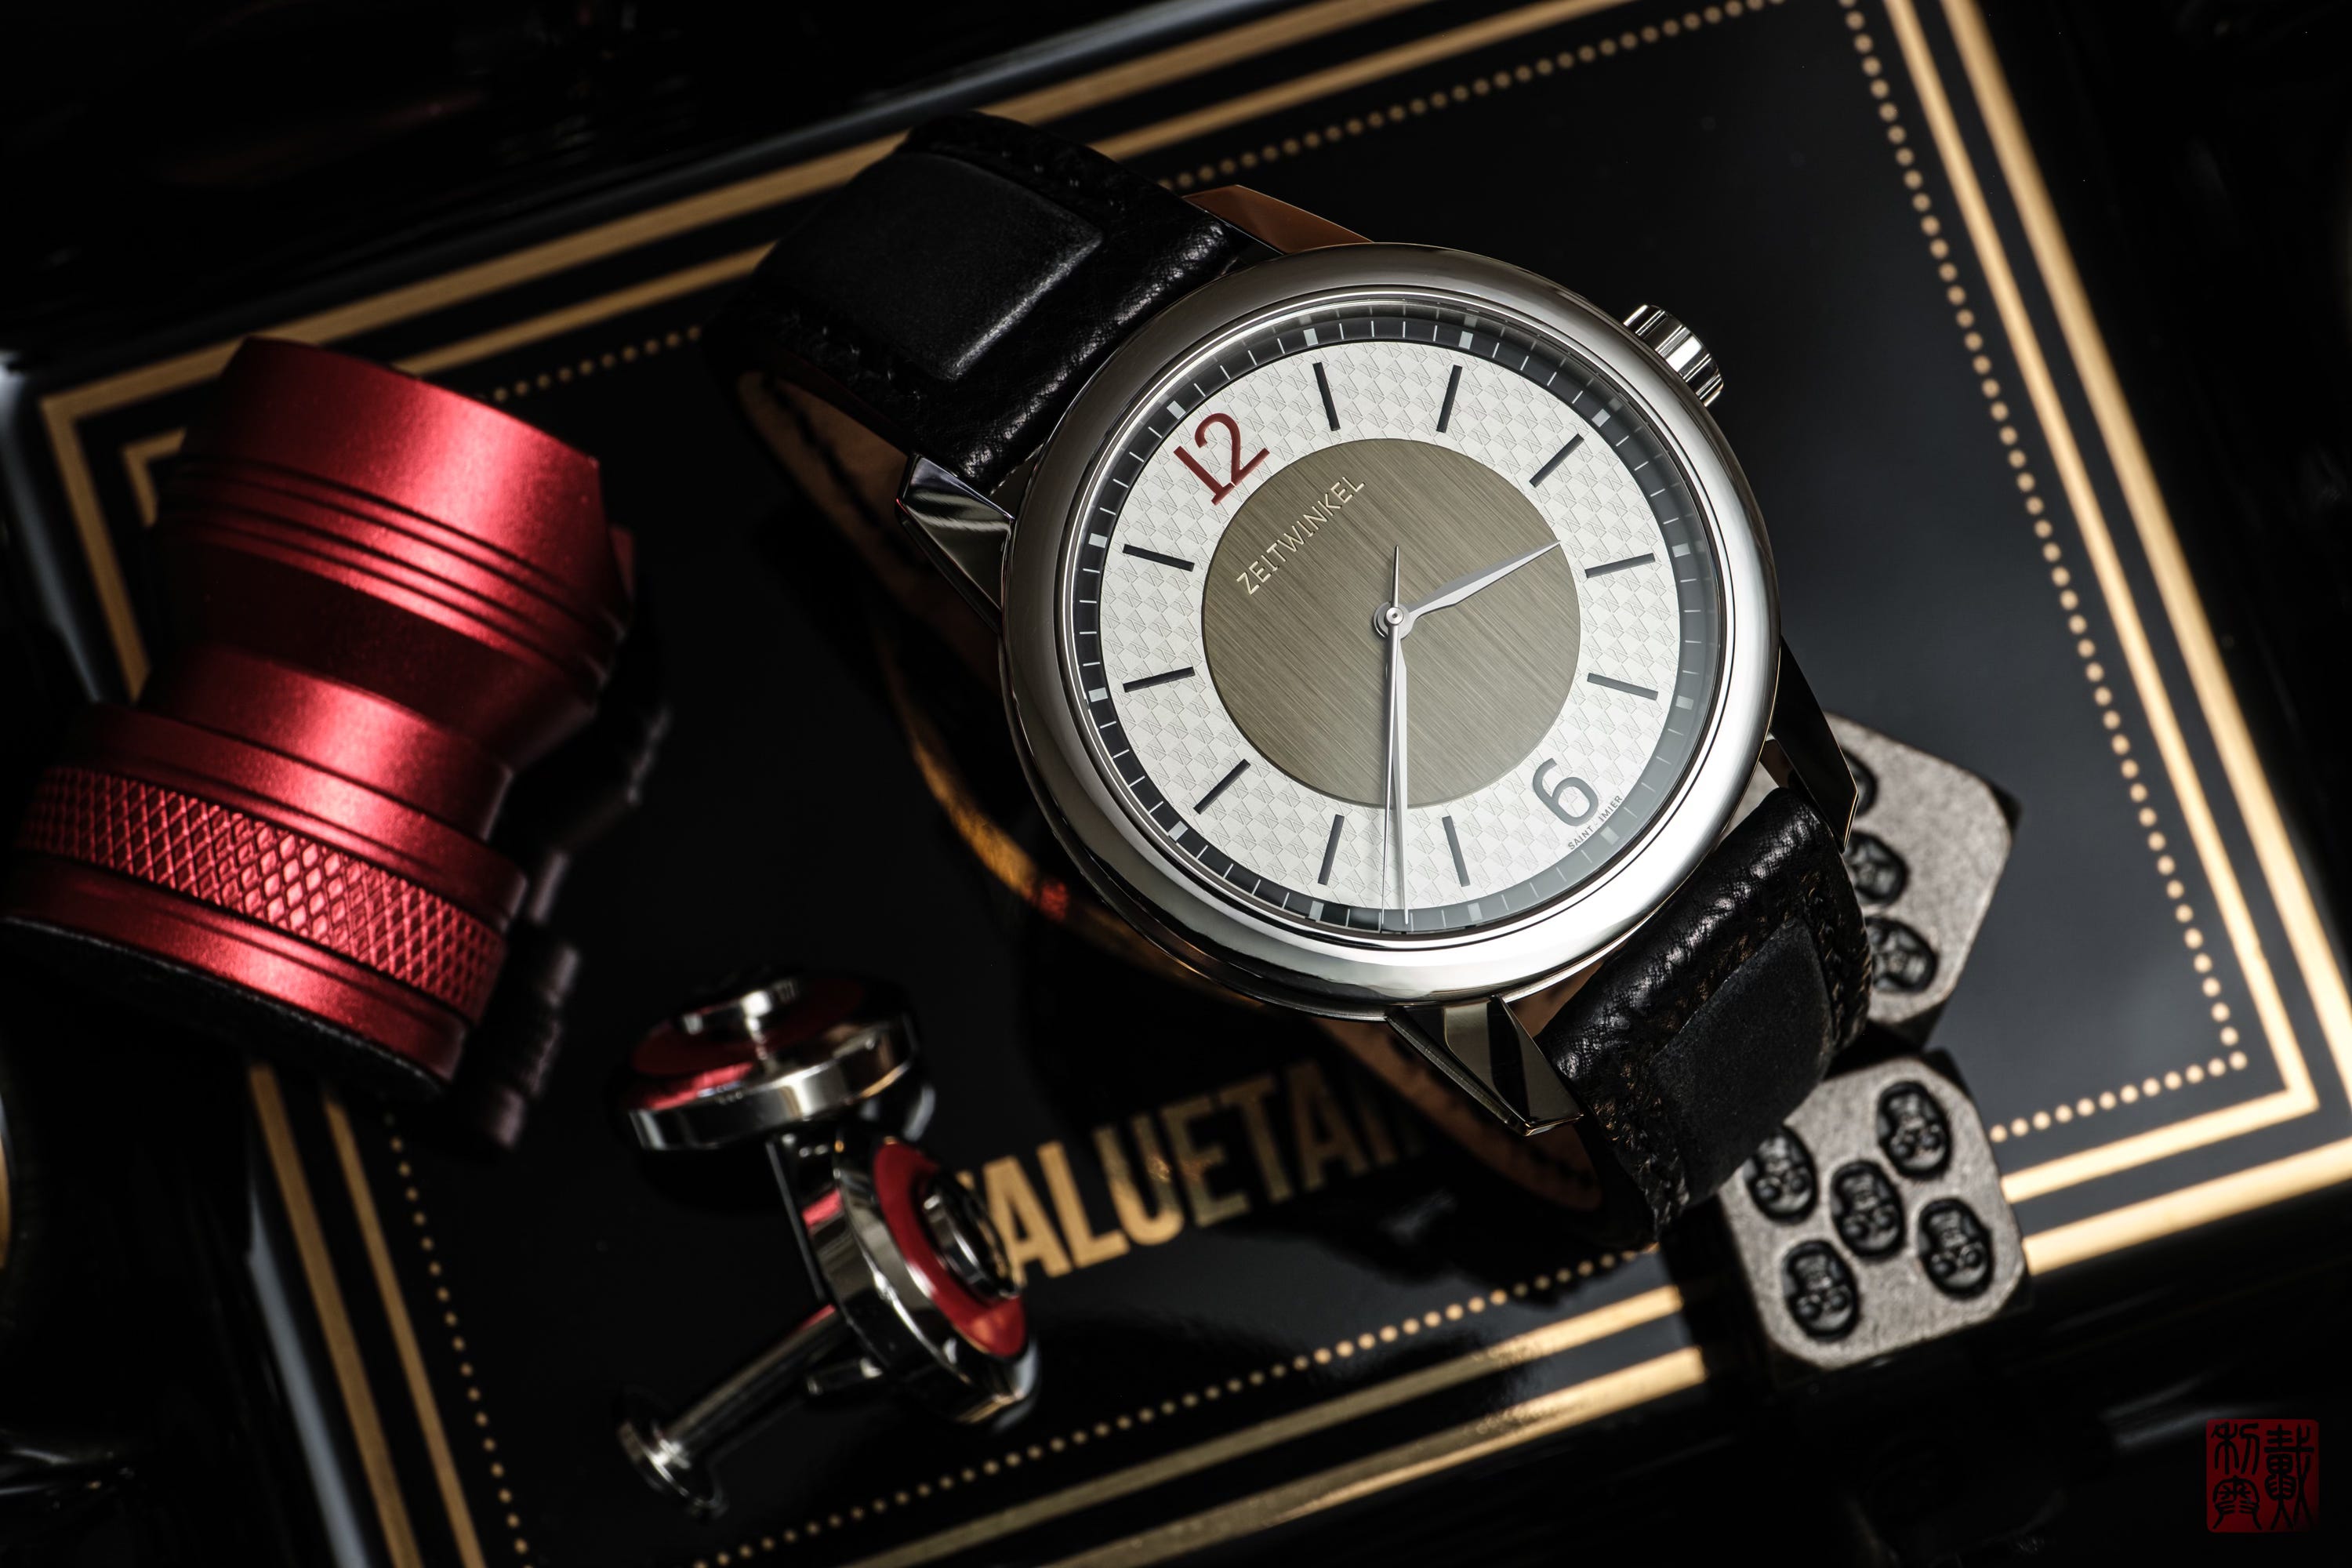
To summarize, here’s a crop of all three bracketed shots taken at 1.3 IL increments. Initially, my gaze is drawn to the black indices. In my mind, I exclaim, “ET MERDE!!! Elle a raison!” The noise difference is evident between the three exposures, but what truly amazed me was the rendition in the shadows. It’s incredible. The OVERexposed and then corrected -1.3 shot effectively eliminated all noise from the image without resorting to denoising. I’m astounded. The definition is smoother and clearer, with almost no noise. the result reminds me a lot of what native ISO shots looked like on CCD sensors. To be clear, this is not something you will see on a computer screen or your “Personal-Home-Porn-Movie-Camera” (your smartphone) but on a large-scale professional print… boy, we are comparing horses to donkeys!


After some time of going back and forth, still unable to believe what I was witnessing, I decided to take this to another level. The dreaded and very feared “Sharpening” slider on Lightroom. This slider of hell, as all Fuji shooters well know, is the source of the dreaded “worming” effect on some surfaces. I go all in and max it at 150. Now, I’m even more perplexed. The results are certainly impressive. The -1.3 and 0.0 samples are clearly noisy, while the -1.3 IL sample is smooth and still well-defined. I’m in disbelief.


Okay, the linear brush finish on this watch dial might not be the best example to induce those worms. I need another subject, quickly!
Here’s an unexpected twist. The same outcome. No signs of worming are evident in any of the three shots. Has Lightroom finally addressed this issue??? That would be the second good news of the day…
(I strongly recommend you compare these on a proper computer screen)


IMPORTANT: I forgot to mention that in order to maximize the results you will need to apply a flat linear curve profile. It is available in Capture One by default but you will need to create one for Lightroom with DNG PROFILE EDITOR.
Once you overexpose by 1.3IL and apply the linear curve profile you will have the starting point for the maximum possible image quality.
Conclusion
Nath-Sakura has undoubtedly addressed a significant flaw in my photographic workflow. I must admit that it’s designed to enhance photography at a high level in highly controlled lighting conditions. In my case, the ability to OVERexpose is a luxury many times I can’t afford. However, it’s reassuring to know that if you can go +1, it doesn’t necessarily mean the end of your shot but possibly a better one. This offers a slight opportunity for a better and shallower depth of field shot in a scene with ample light. It has become clear to me that in controlled light environments such as in pro-photo sessions surrounded by strobes and studio equipment, the right way to go is indeed +1.3IL.
NATH-SAKURA: God knows that I hardly waste my time recommending social media channels but in this case I must. I highly recommend this channel if you’re interested in taking your photography to the next level. Not only becuase of the technique but the debunking and historical/educational bits are worth it alone. It’s worth it, even though it’s in French (which is probably why it doesn’t have a substantially larger following). There’s an English dub option available that does work reasonably well. Nath-Sakura’s contribution to social media is controversial, educational, and irreverently honest—just what a true influencer (pardon the bad word) should be. In short, what social media should be.
- The End -
As much as I would think otherwise, a“ ❤️ Like” is a big deal – it serves as a proxy to new visitors of this publication’s value. If you enjoyed this post and since it’s free content, please let others know and do not hesitate to share.
Cheers!
I use a similar approach but I don't used a fixed +1.3. I use the histogram to ETTR but the important aspect of this is to use a neutral camera profile as it gives the most "accurate" histogram. The image we see in the LCD screen or electronic view finder is a jpeg of the data with the processing of that particular camera manufacturer. Using a neutral profile to judge your exposure is somewhat analogous to using a linear profile in your editing software - it maximizes the data. Using ETTR with a neutral profile and a linear profile in Lightroom I've found I often don't need to do HDR at all
:)